
Basic servo press
Alignment and force mattered more than expected.
Featured Case Study · Physical Computing
Practicing resilience through reuse — a seed dropper built from a broken 3D printer.
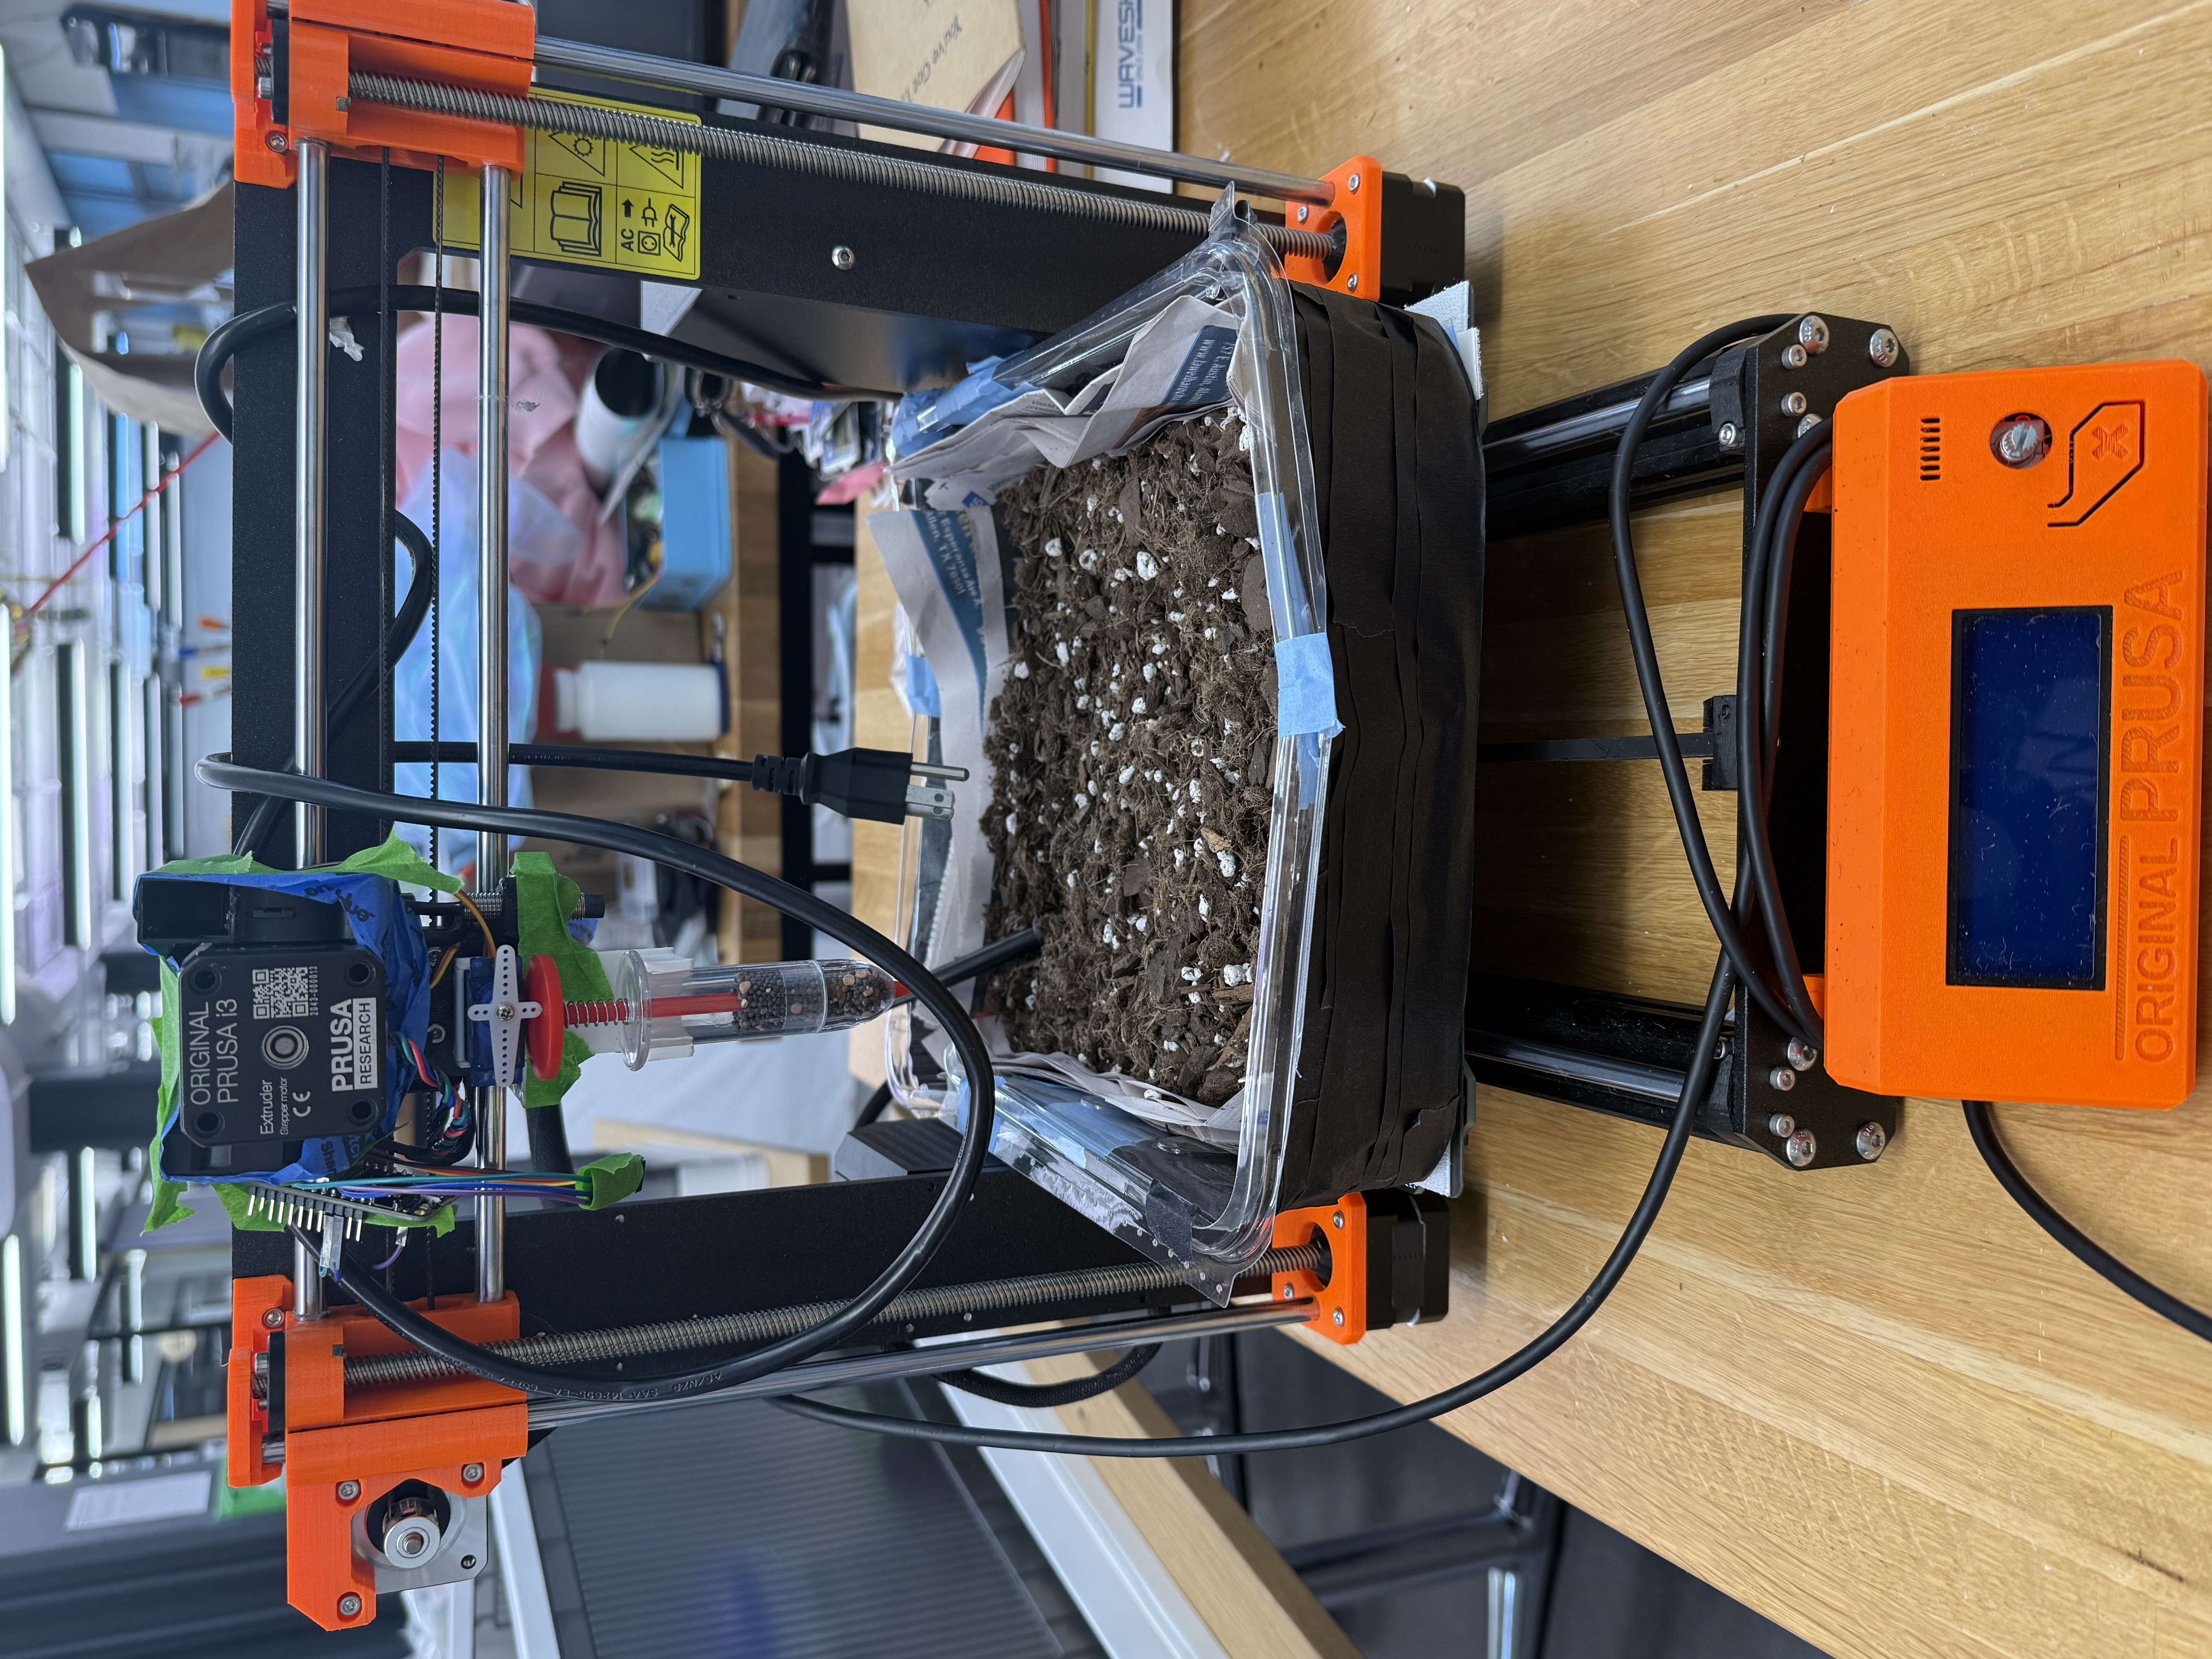
This project explores how an old 3D printer can be transformed into a planting tool. Instead of building a motion system from scratch, I reused the printer's existing X/Y movement and designed a seed-dropping mechanism controlled by an ESP32 and servo motor, driven by a custom Python GUI that places seeds precisely onto soil.
The Problem
Small-scale planting can be repetitive and inconsistent. At the same time, old or broken 3D printers often still have usable motion systems. I wanted to explore whether a discarded fabrication tool could be repurposed into a useful planting machine.
The value of this project is not that it solves farming at scale. The value is that it shows how an existing machine can be reimagined as a new tool through design, fabrication, and physical computing.
Hand planting varies in spacing and depth.
Broken printers still have working motion systems.
Planting automation is rarely accessible to small growers.
Design Concept
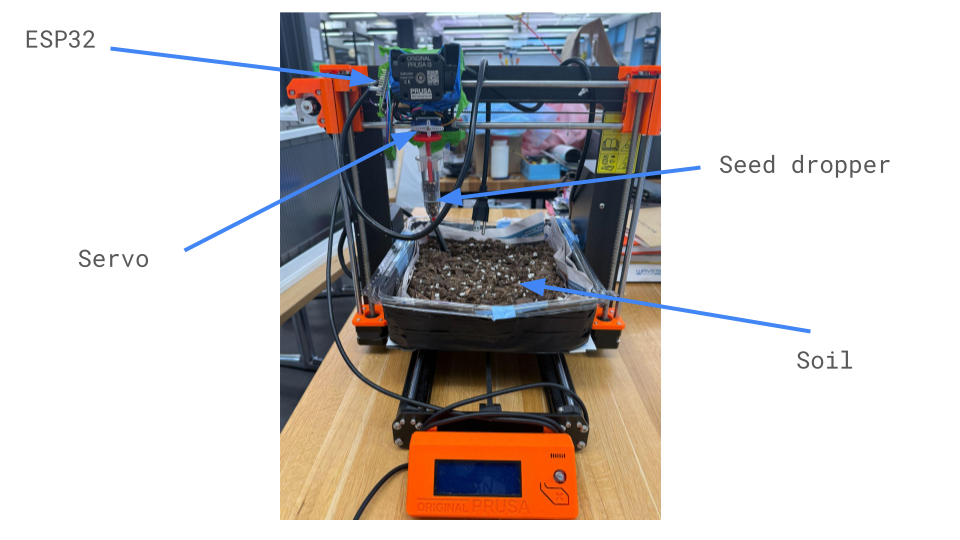
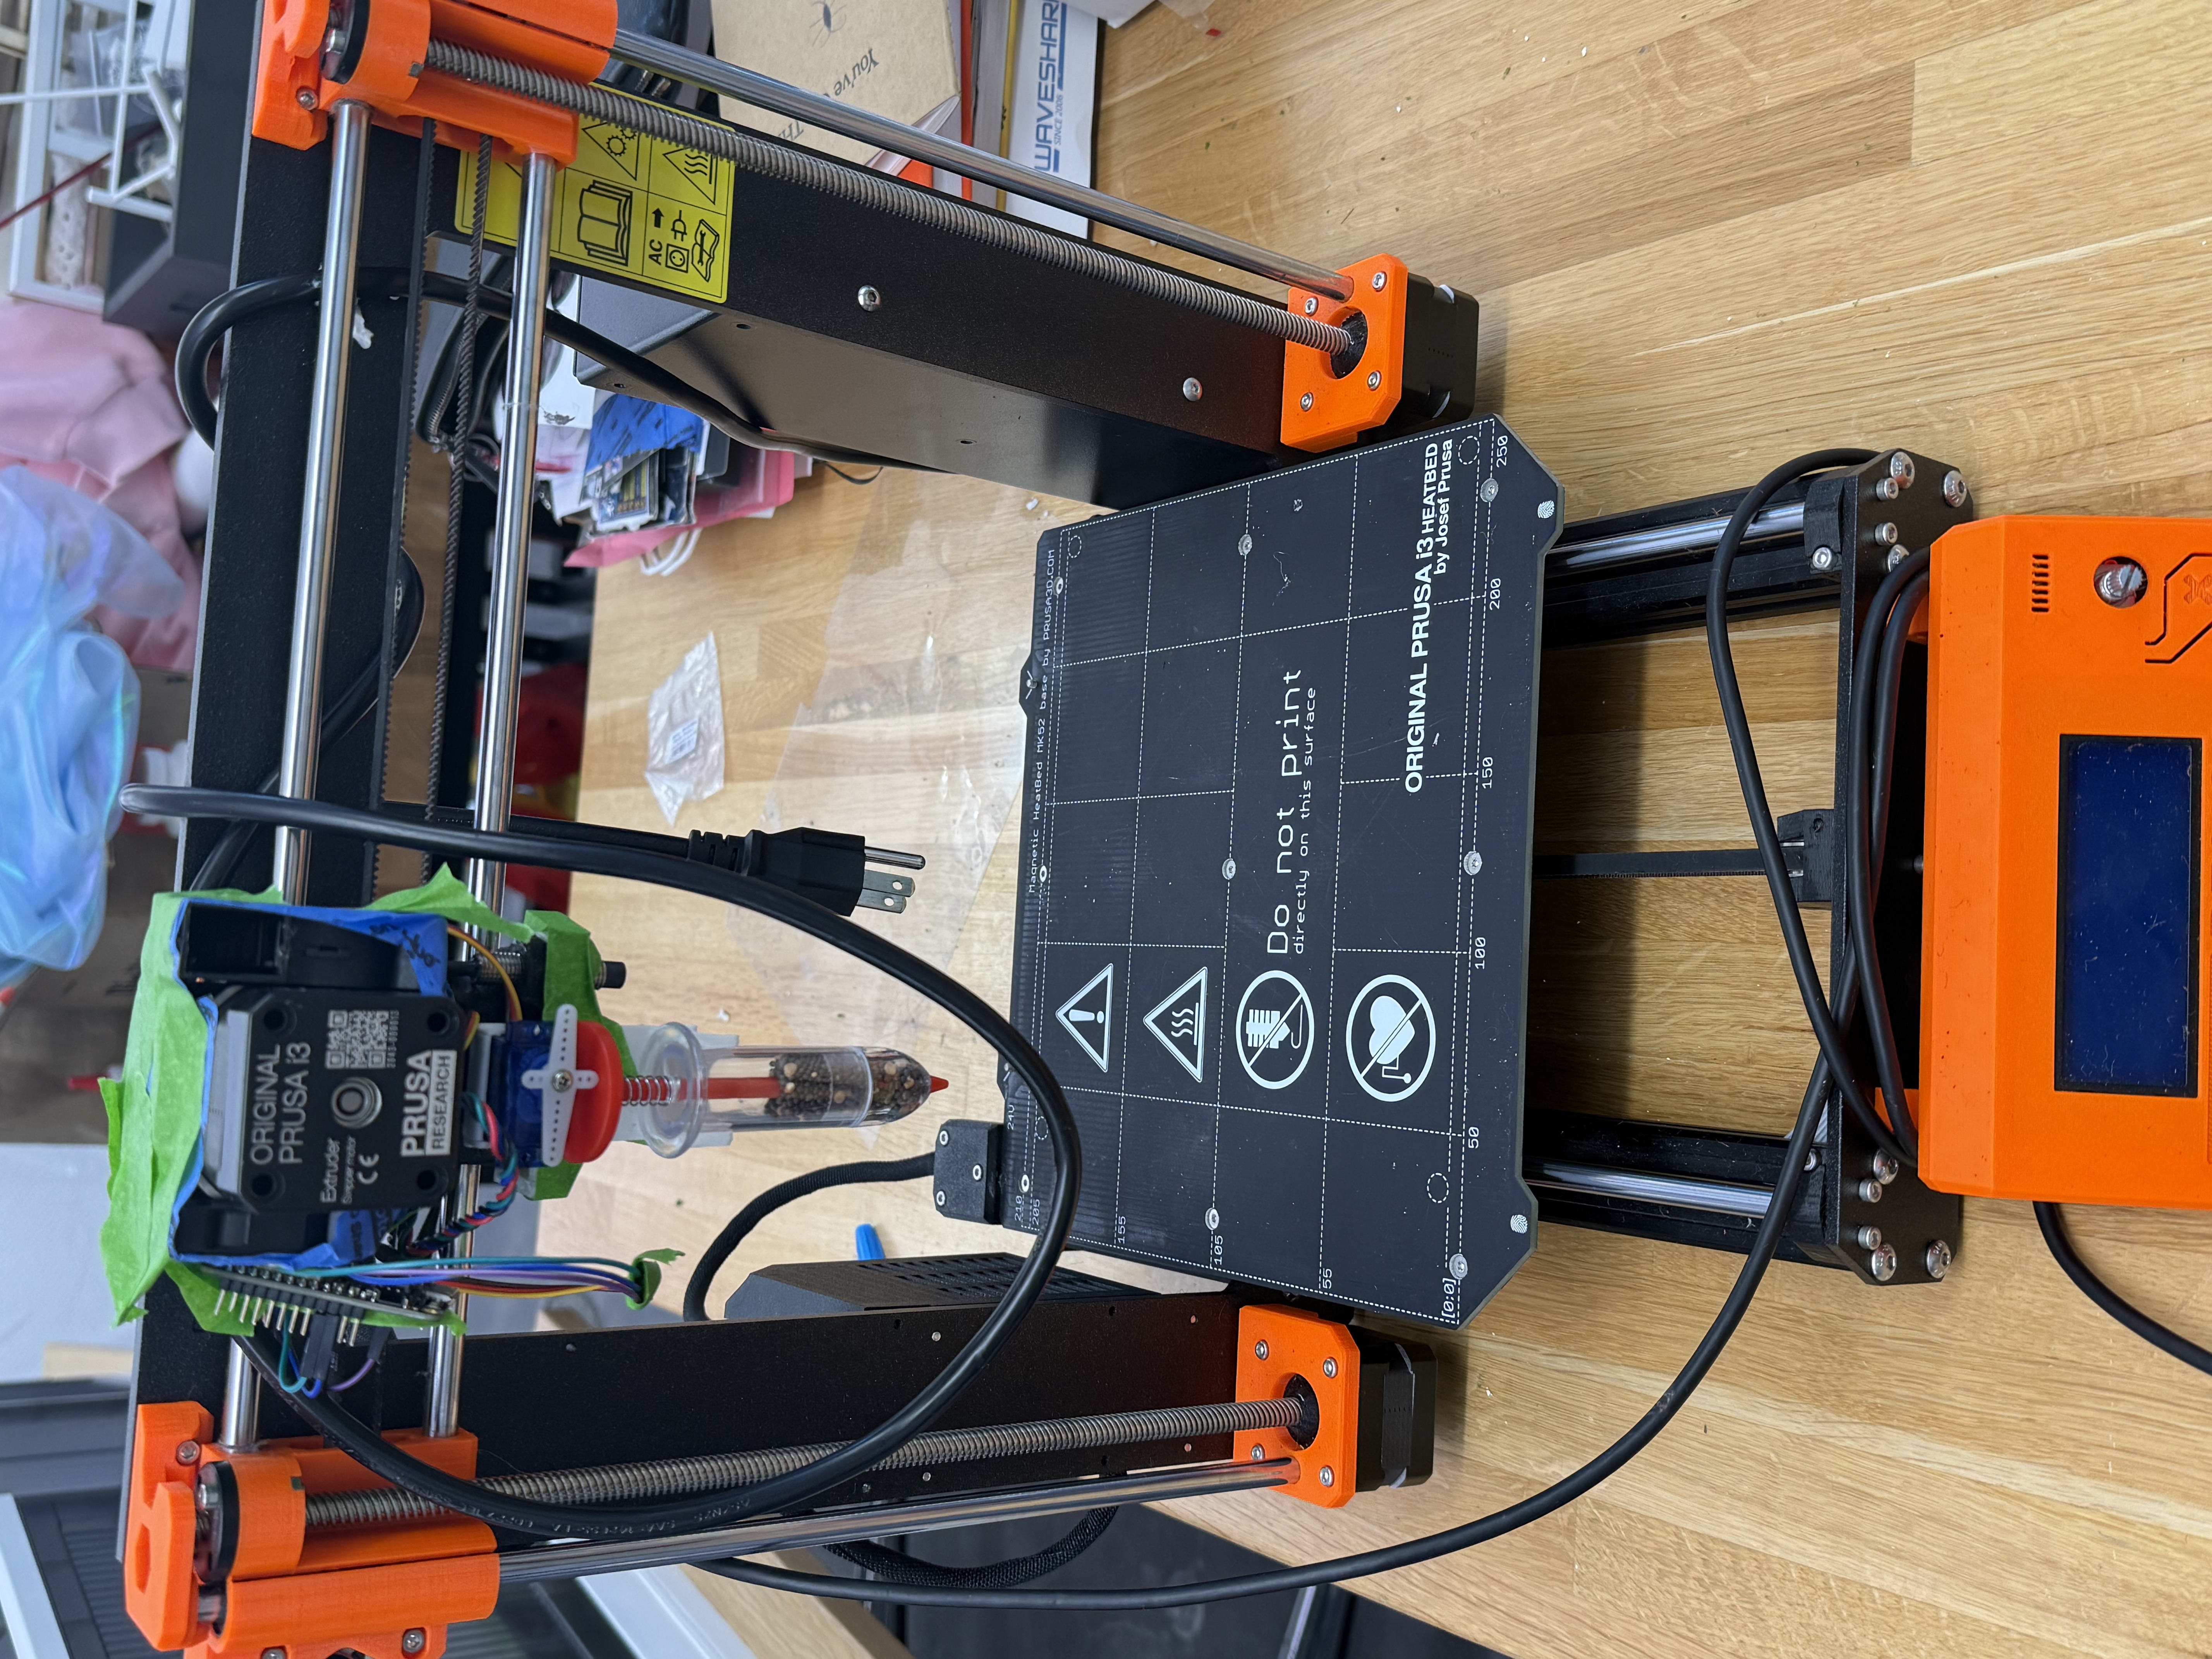
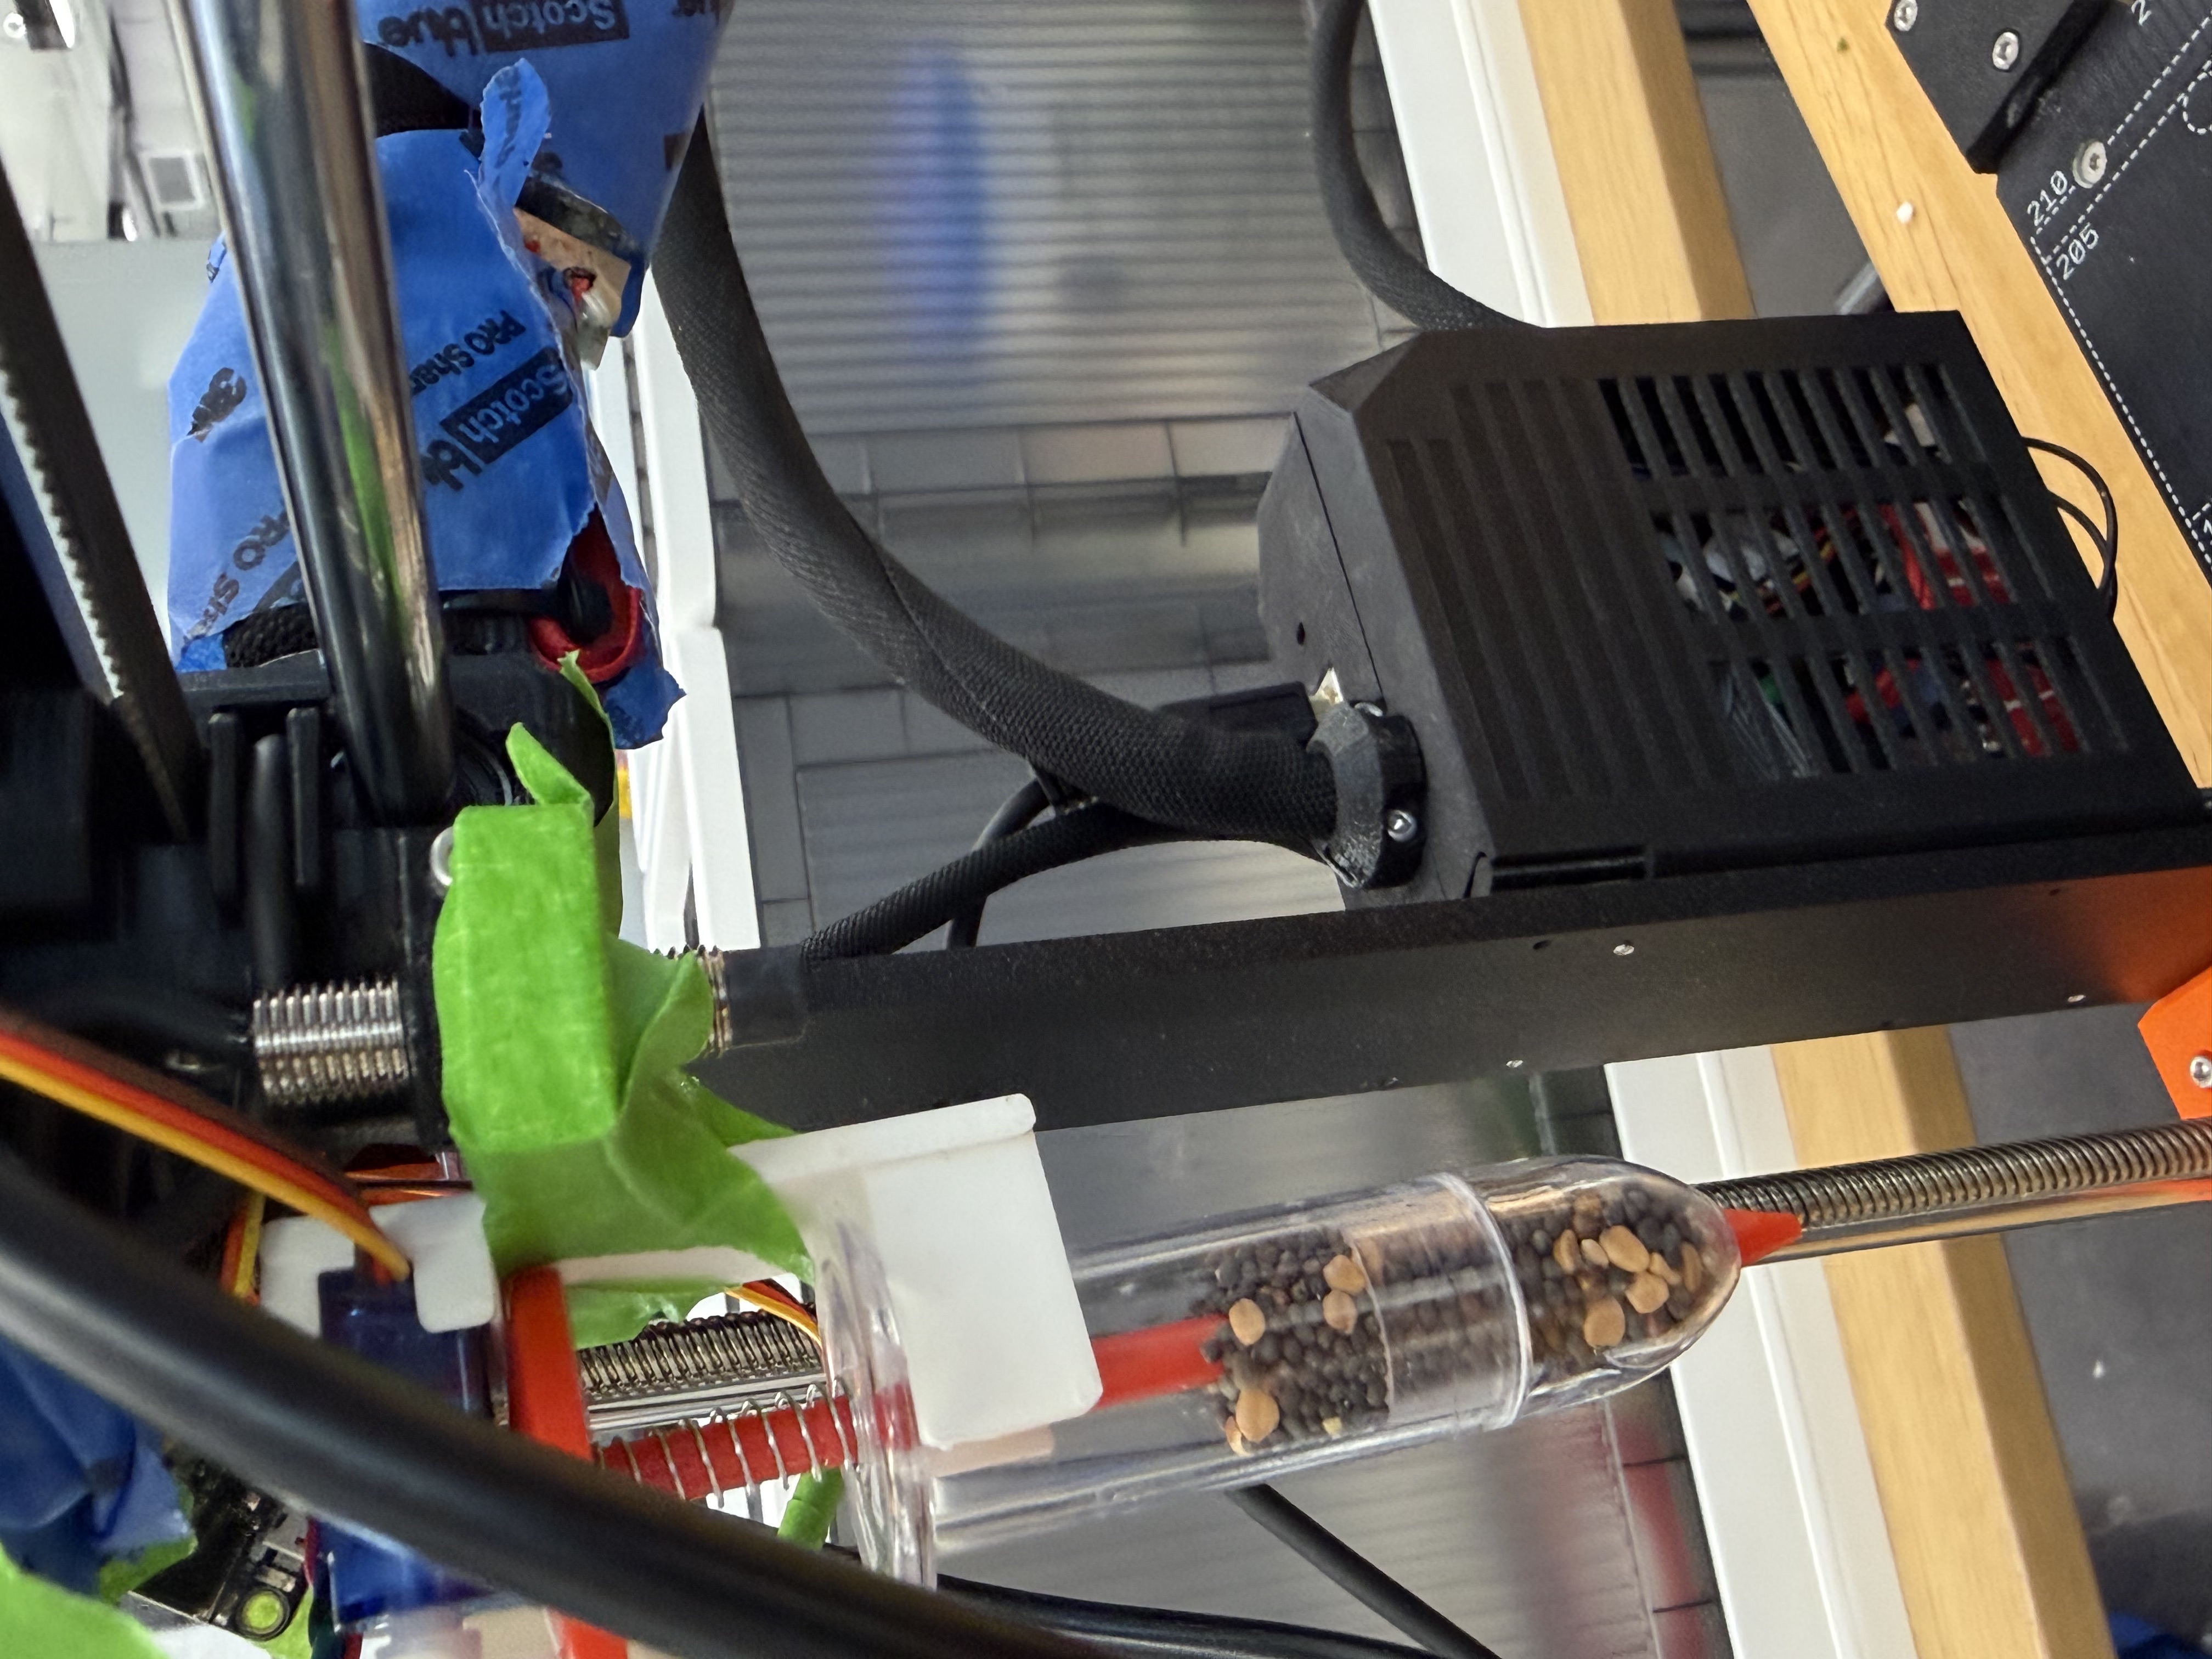
The concept was to use the printer as a positioning system. The printer moves to specific X/Y coordinates above the soil bed, pauses, and the seed dropper releases seeds through a tube.
What I Built
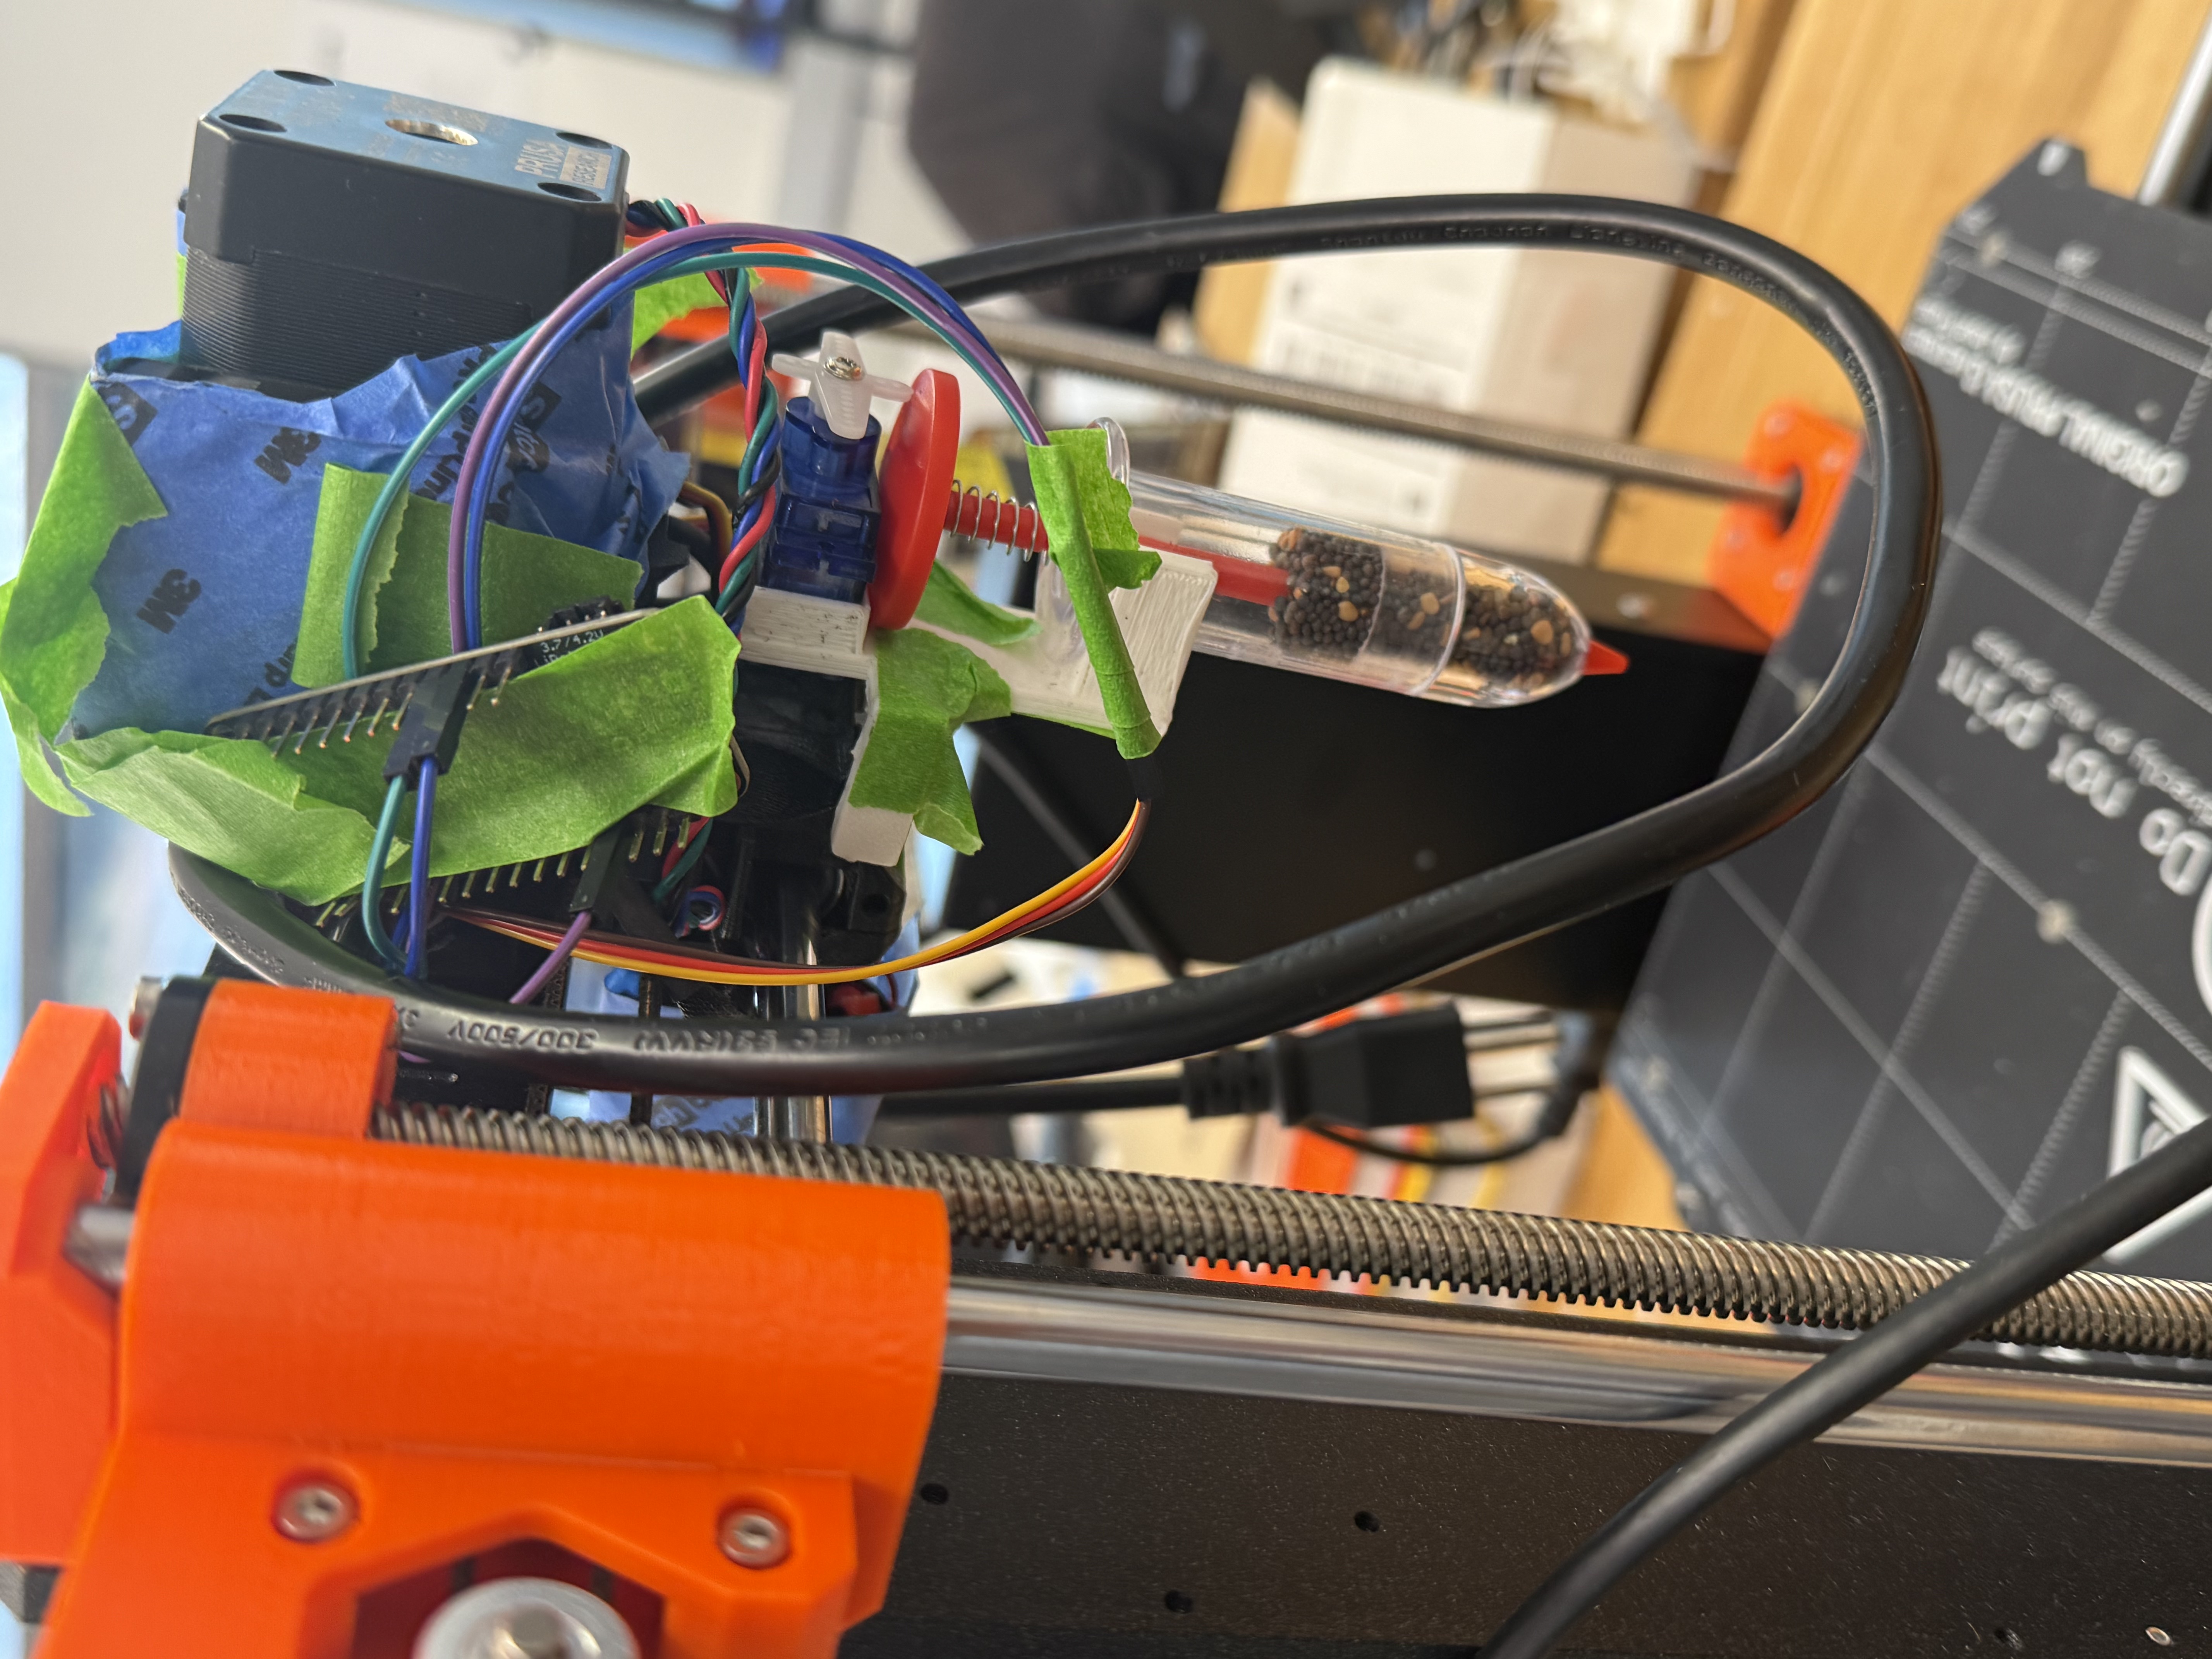
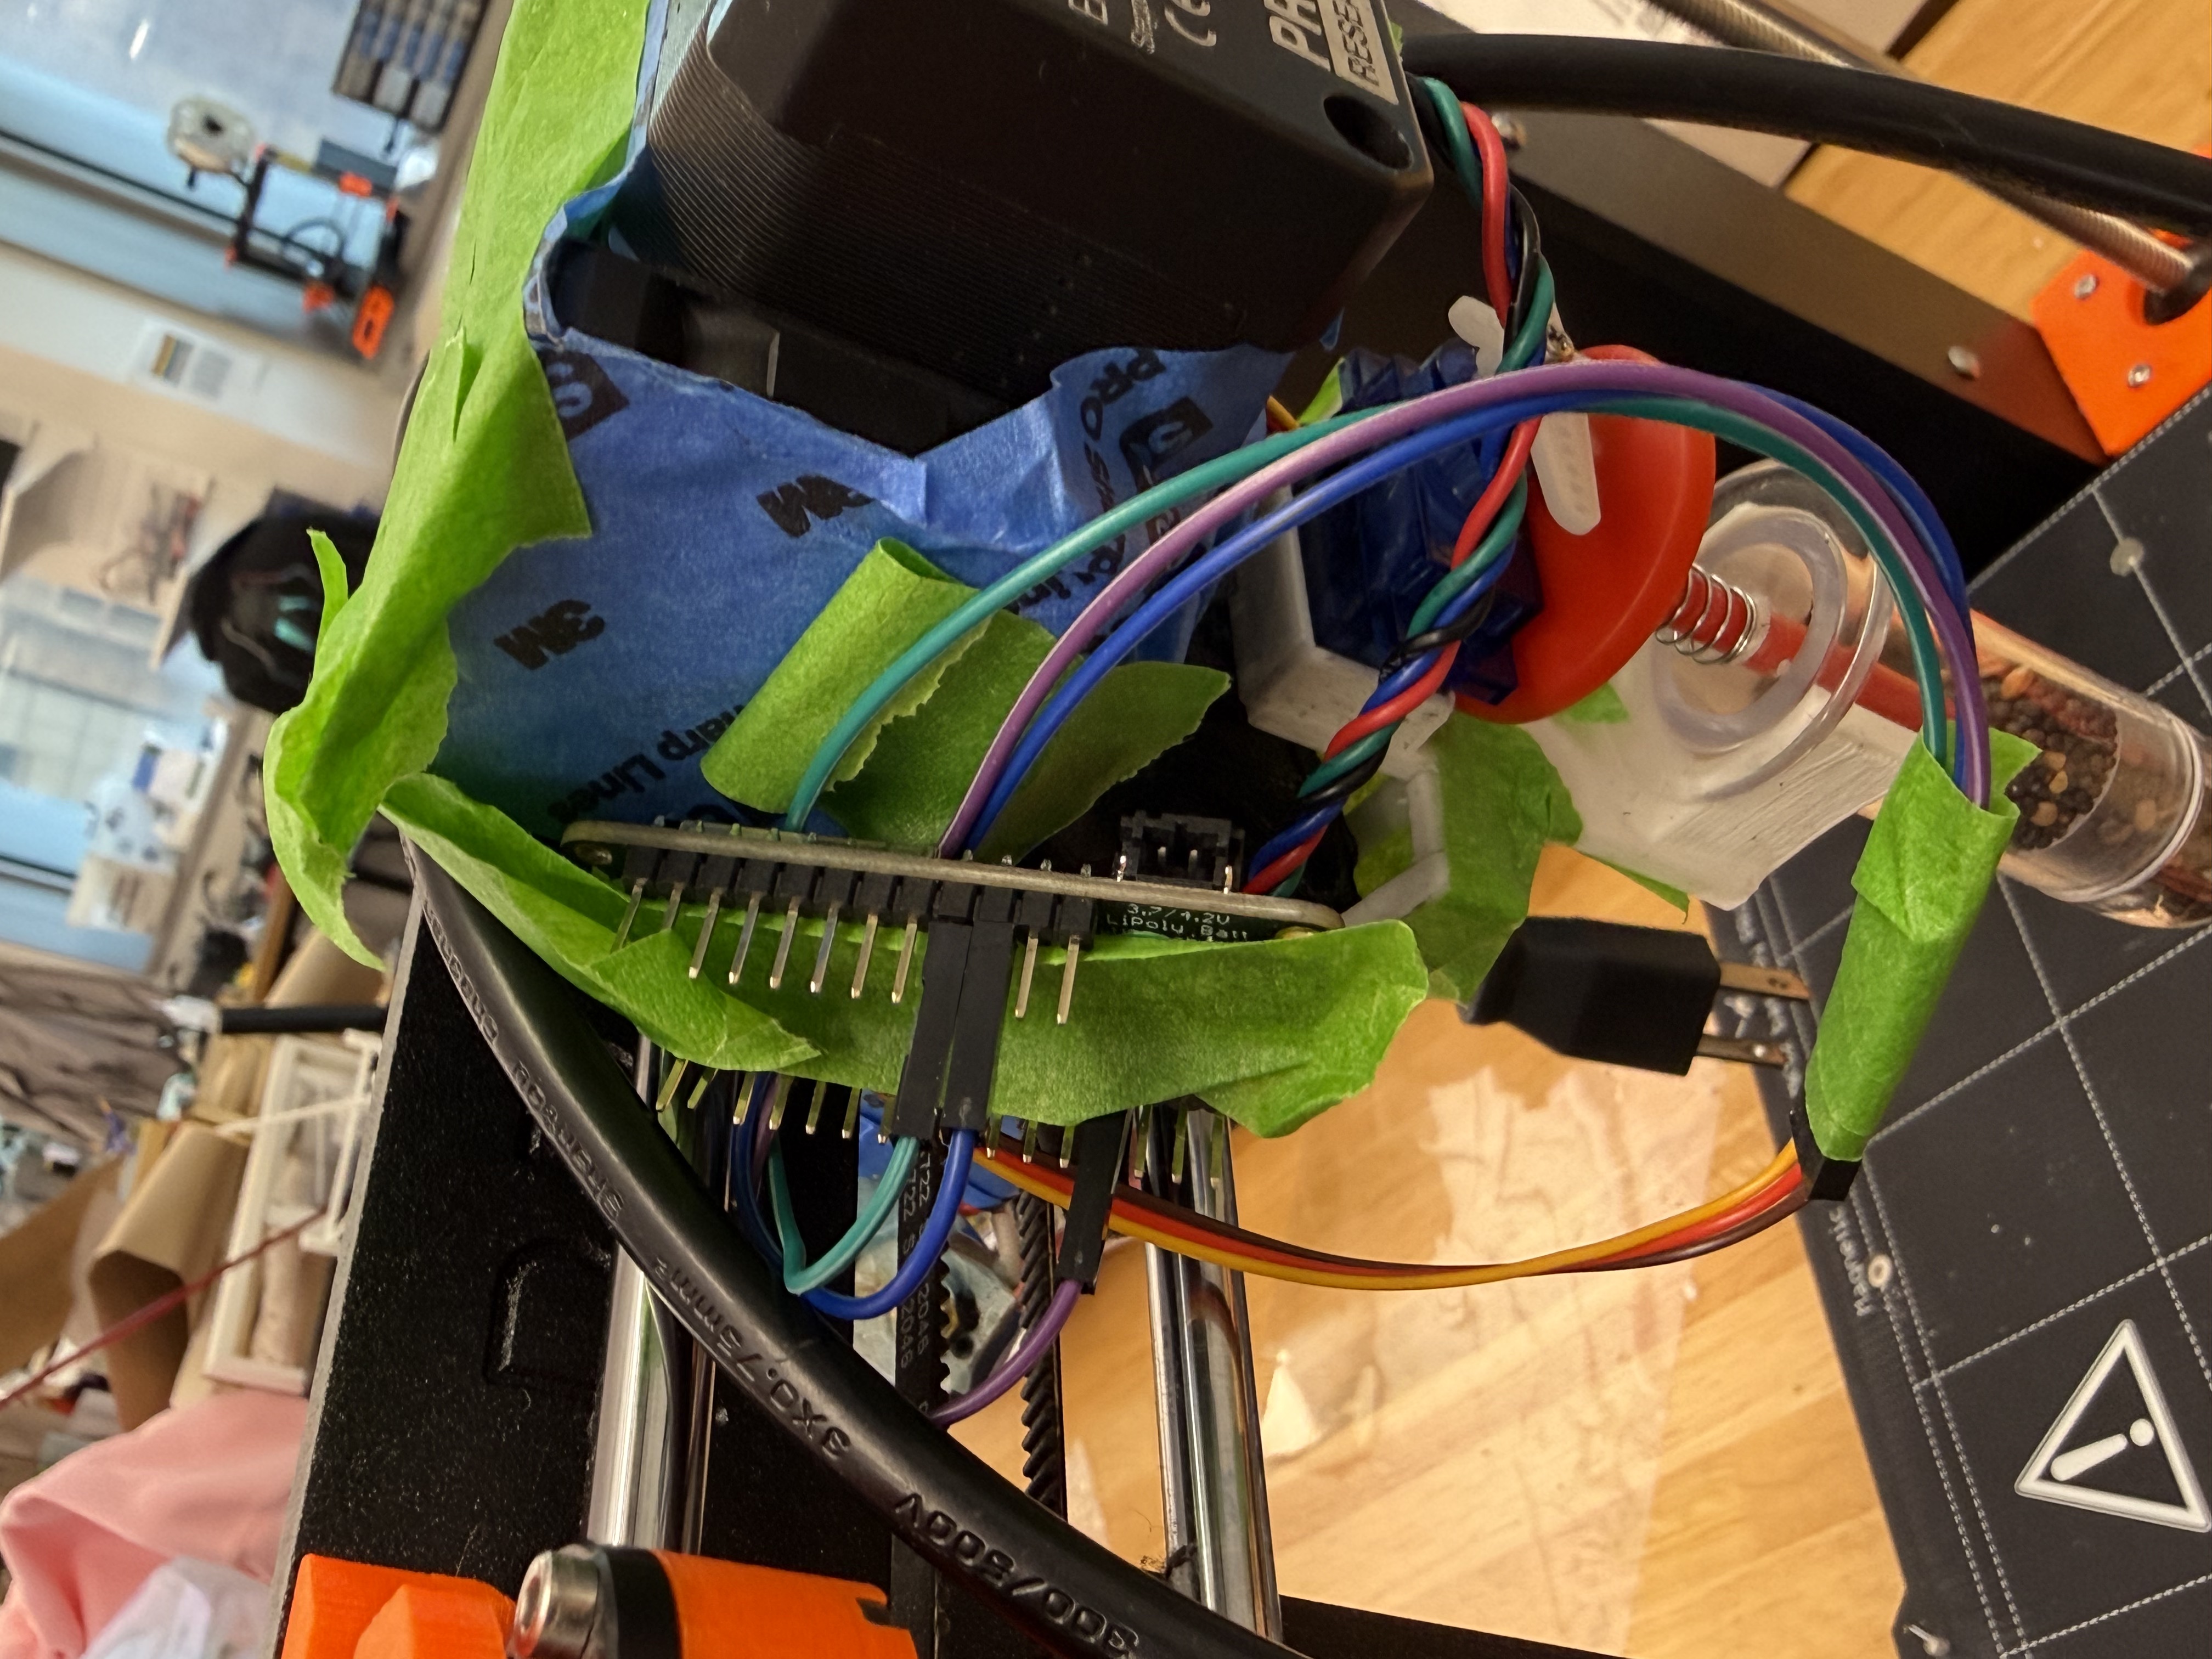
Mechanical
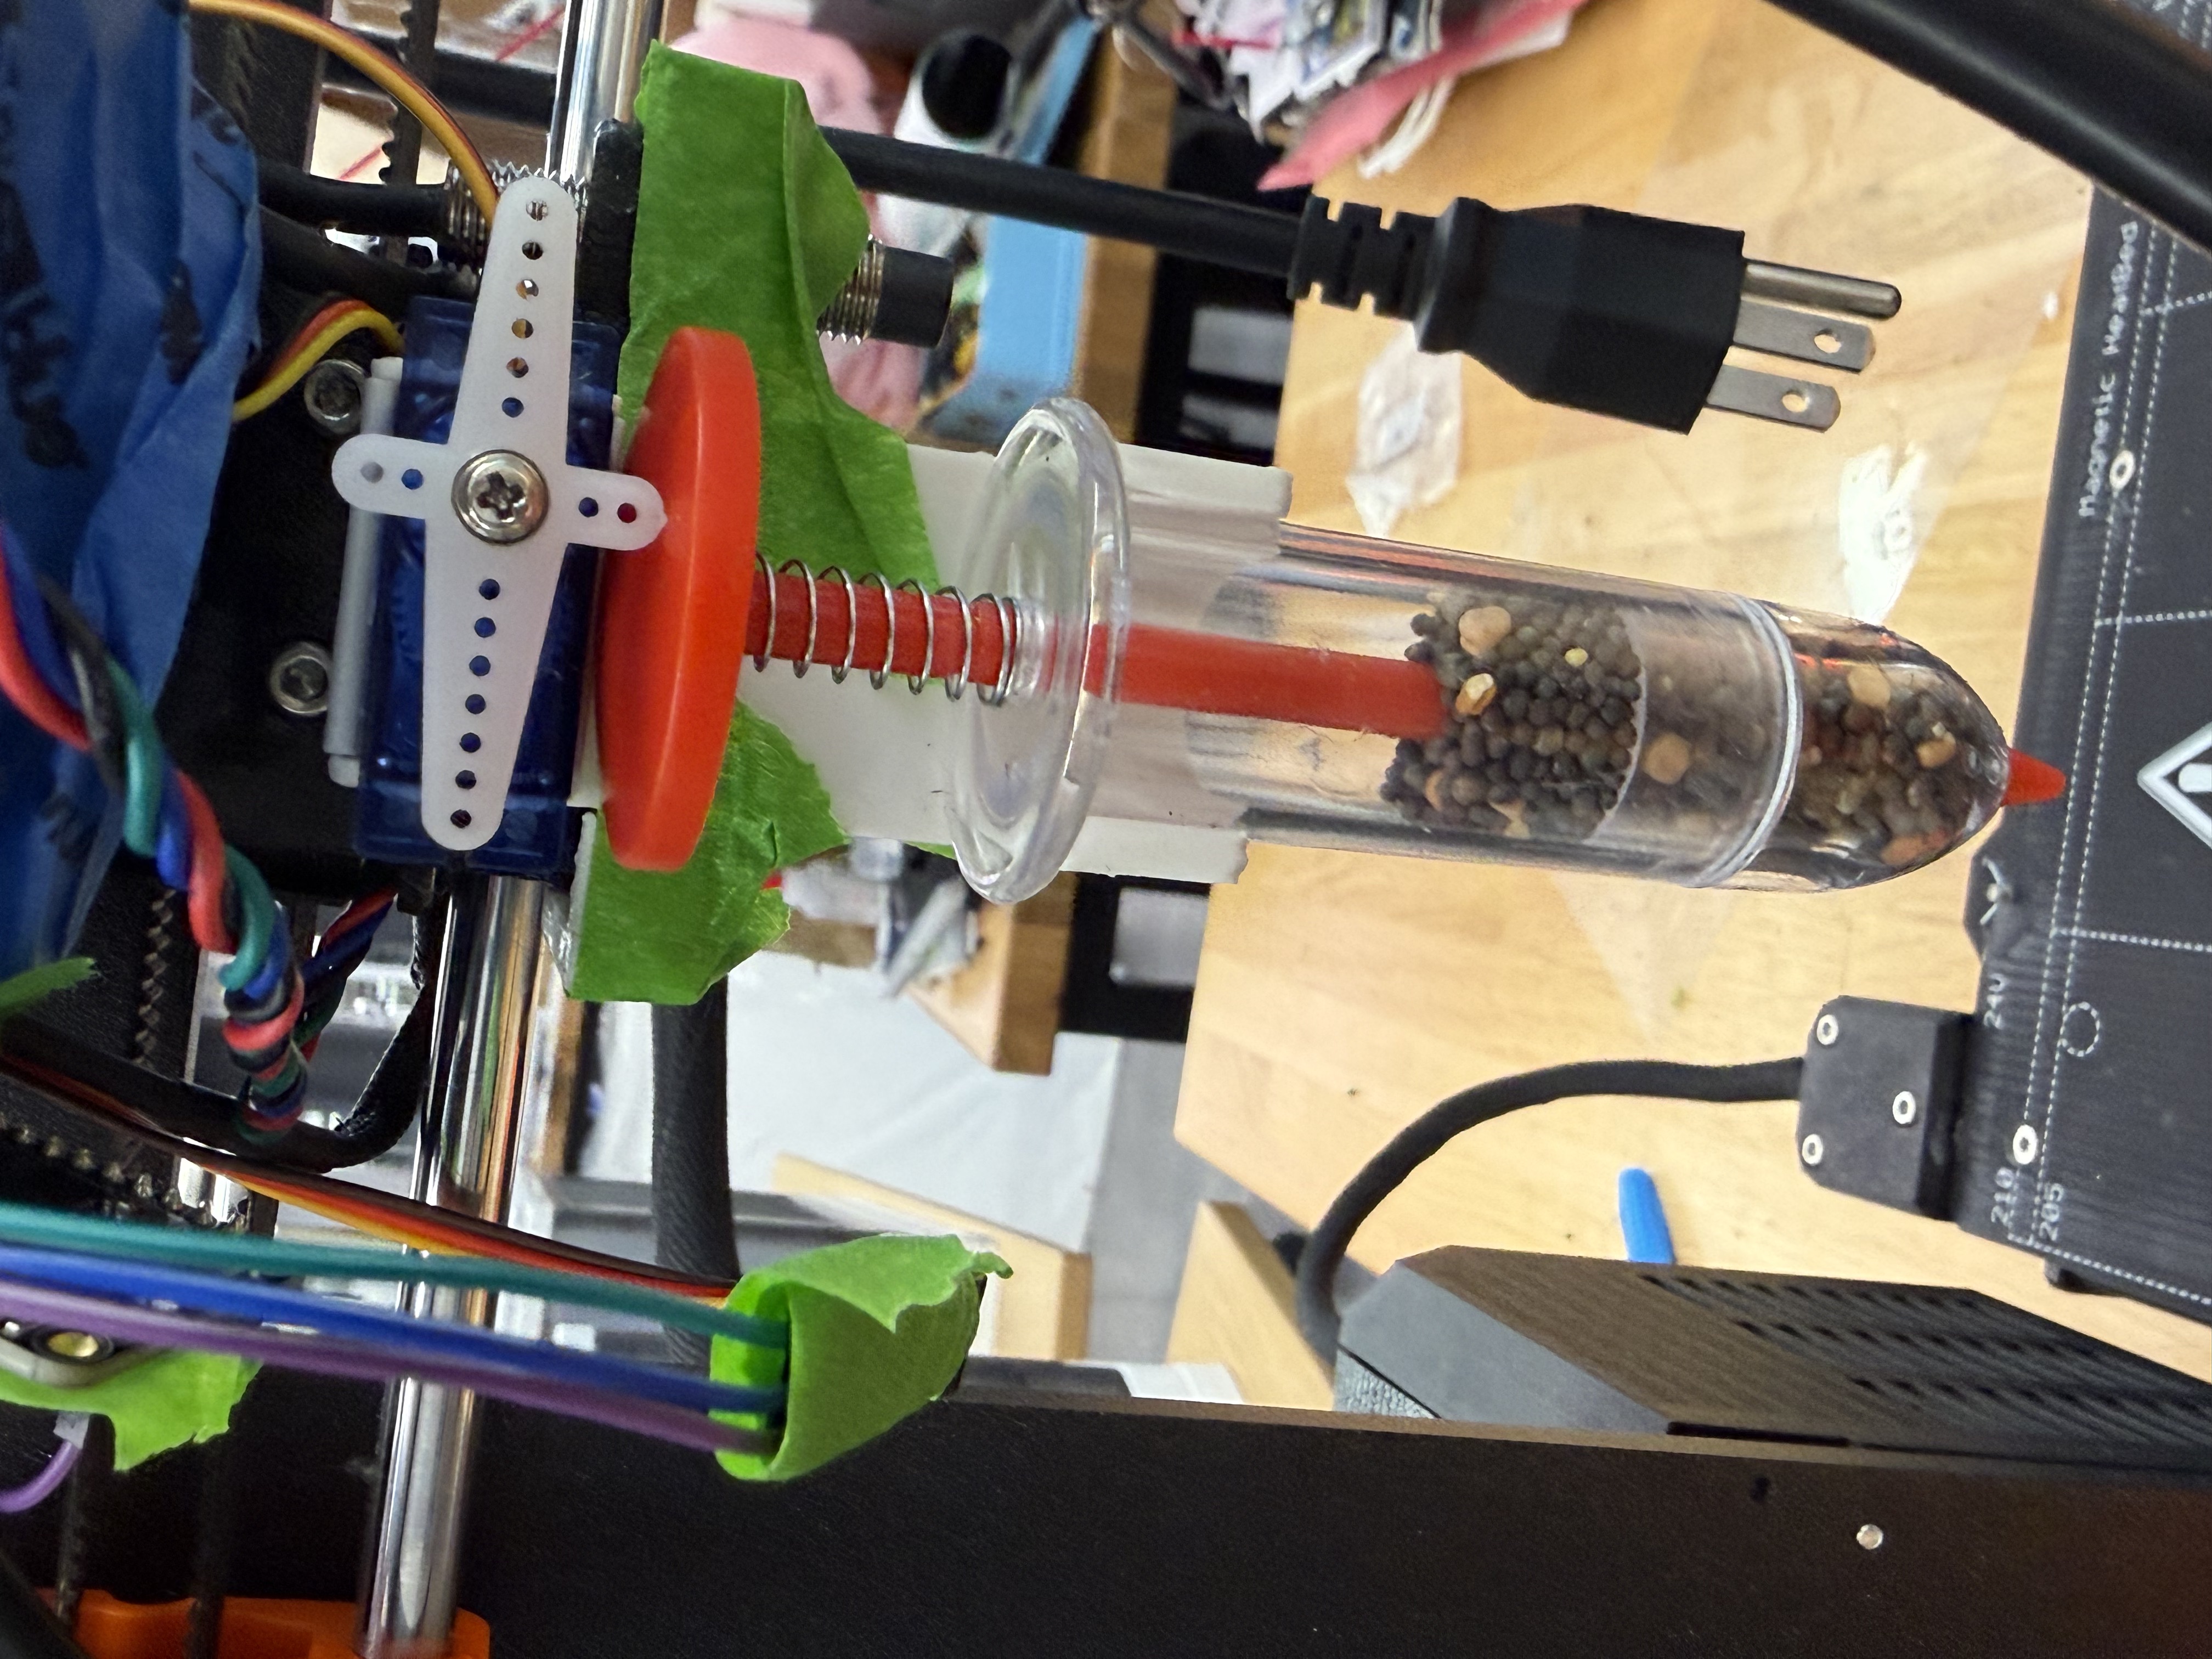
3D-printed seed holder + tube assembly
Mounted to the printer carriage with a custom bracket.
Electronic
ESP32 + MG90S servo
Microcontroller drives the servo that opens and closes the seed gate.
Software
Python GUI over USB serial
Buttons and slider to send OPEN, CLOSE, DROP, and angle values.
Motion
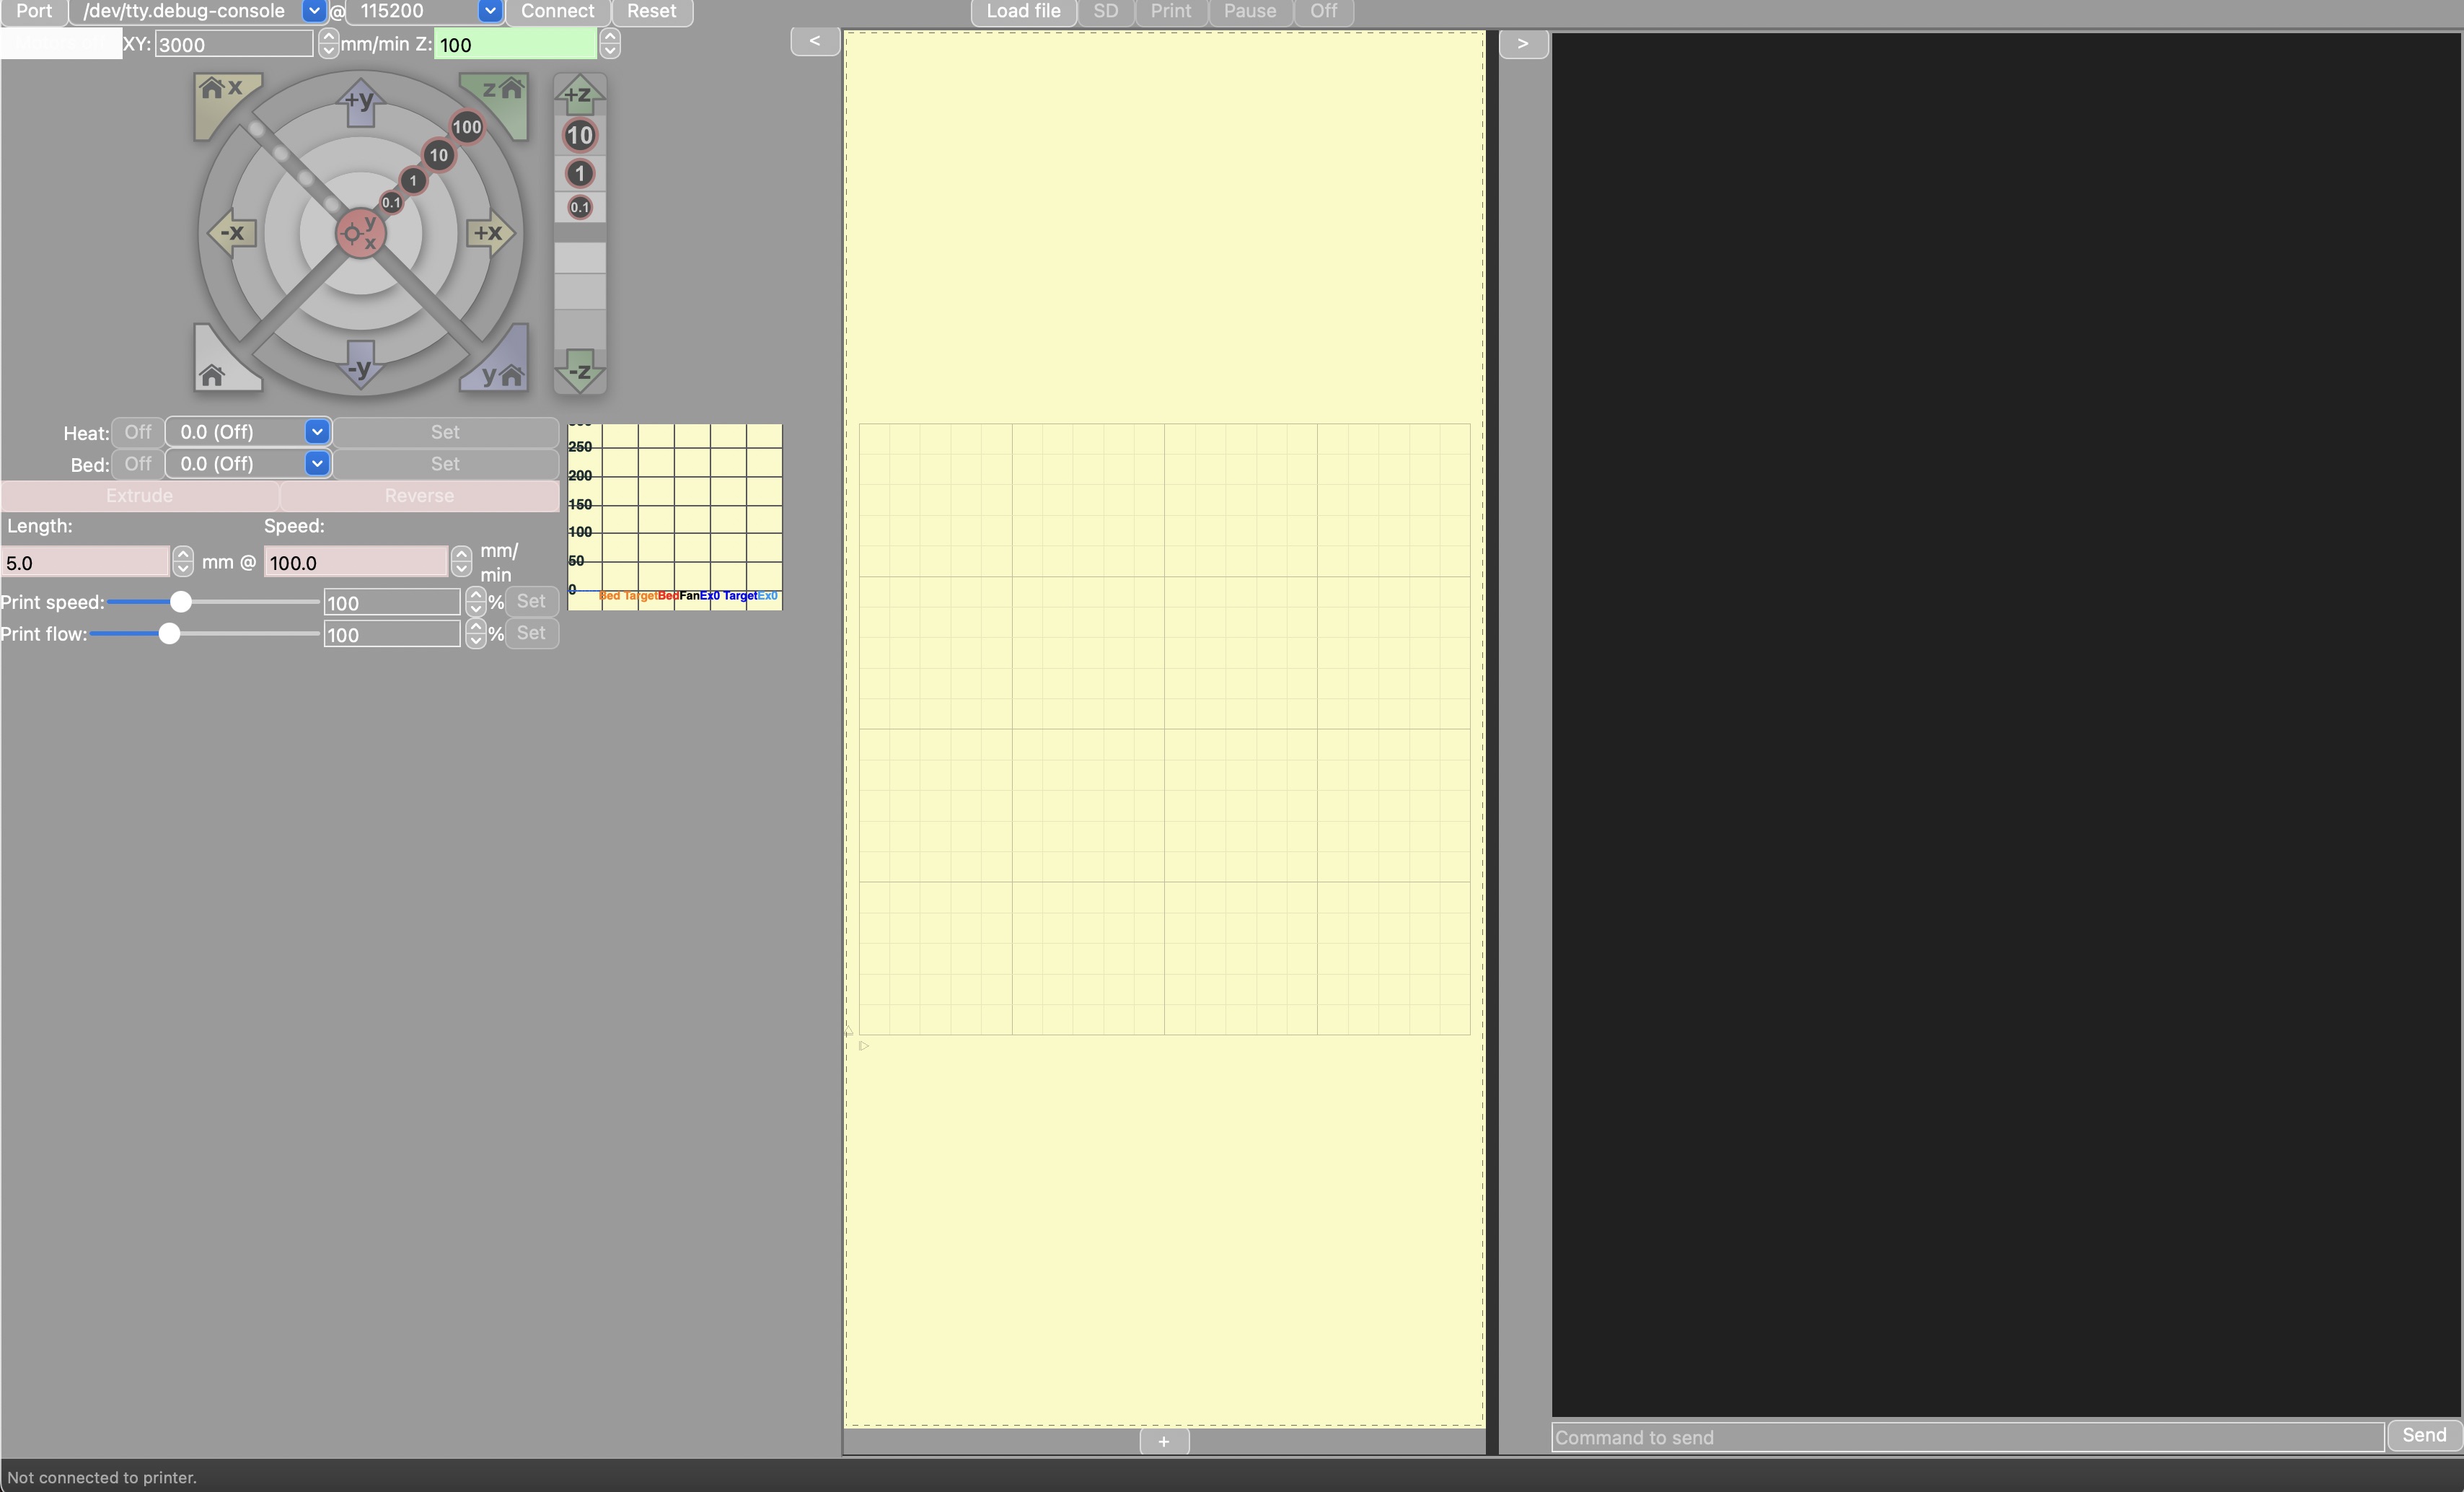
Pronterface manual jog
Printer's existing firmware moves the head — positioned by hand for now.
Prototype Breakdown
The system splits responsibility between the printer and the seed dropper. The printer handles precise positioning, while the ESP32 and servo handle seed release. Explore the model, then scroll through the build →
Interactive 3D model
← Swipe or scroll to walk through the prototype →
Software & Interaction
The software was split into two parts. The Python GUI gave me a simple control panel to send commands. The ESP32 listened for serial text commands and translated them into servo angles.
Text in, motion out. Anything that isn't a named command is treated as a raw servo angle.
OPEN     → servo to 180°
CLOSE    → servo to 60°
DROP1    → open, wait 400ms, close (single seed)
DROP3    → repeat drop 3× with 400ms gaps
0–180 → raw angle for manual tuningButtons fire named commands; the slider streams integer angles as they change.
import tkinter as tk
import serial

ser = serial.Serial('/dev/cu.usbserial-0285FFE6', 115200)

def send(cmd):
    ser.write((cmd + "\n").encode())

root = tk.Tk()
root.title("Seed Servo Control")
root.geometry("400x400")

slider = tk.Scale(root, from_=0, to=180,
                  orient="horizontal",
                  command=lambda v: send(v))
slider.pack(fill="x", padx=20, pady=20)

tk.Button(root, text="OPEN",   command=lambda: send("OPEN")).pack(fill="x")
tk.Button(root, text="CLOSE",  command=lambda: send("CLOSE")).pack(fill="x")
tk.Button(root, text="DROP 1", command=lambda: send("DROP1")).pack(fill="x")
tk.Button(root, text="DROP 3", command=lambda: send("DROP3")).pack(fill="x")

root.mainloop()
Reads a line, matches it against the protocol, and writes to the servo on GPIO 13.
#include <ESP32Servo.h>

Servo myServo;

const int SERVO_PIN = 13;

int openAngle  = 180;
int closeAngle = 60;

void setup() {
  Serial.begin(115200);
  myServo.setPeriodHertz(50);
  myServo.attach(SERVO_PIN, 500, 2400);
  myServo.write(closeAngle);

  Serial.println("READY");
}

void loop() {
  if (Serial.available()) {
    String cmd = Serial.readStringUntil('\n');
    cmd.trim();

    if (cmd == "OPEN") {
      myServo.write(openAngle);
    }
    else if (cmd == "CLOSE") {
      myServo.write(closeAngle);
    }
    else if (cmd == "DROP1") {
      myServo.write(openAngle);
      delay(400);
      myServo.write(closeAngle);
    }
    else if (cmd == "DROP3") {
      for (int i = 0; i < 3; i++) {
        myServo.write(openAngle);
        delay(400);
        myServo.write(closeAngle);
        delay(400);
      }
    }
    else {
      int angle = cmd.toInt();
      if (angle >= 0 && angle <= 180) {
        myServo.write(angle);
      }
    }
  }
}
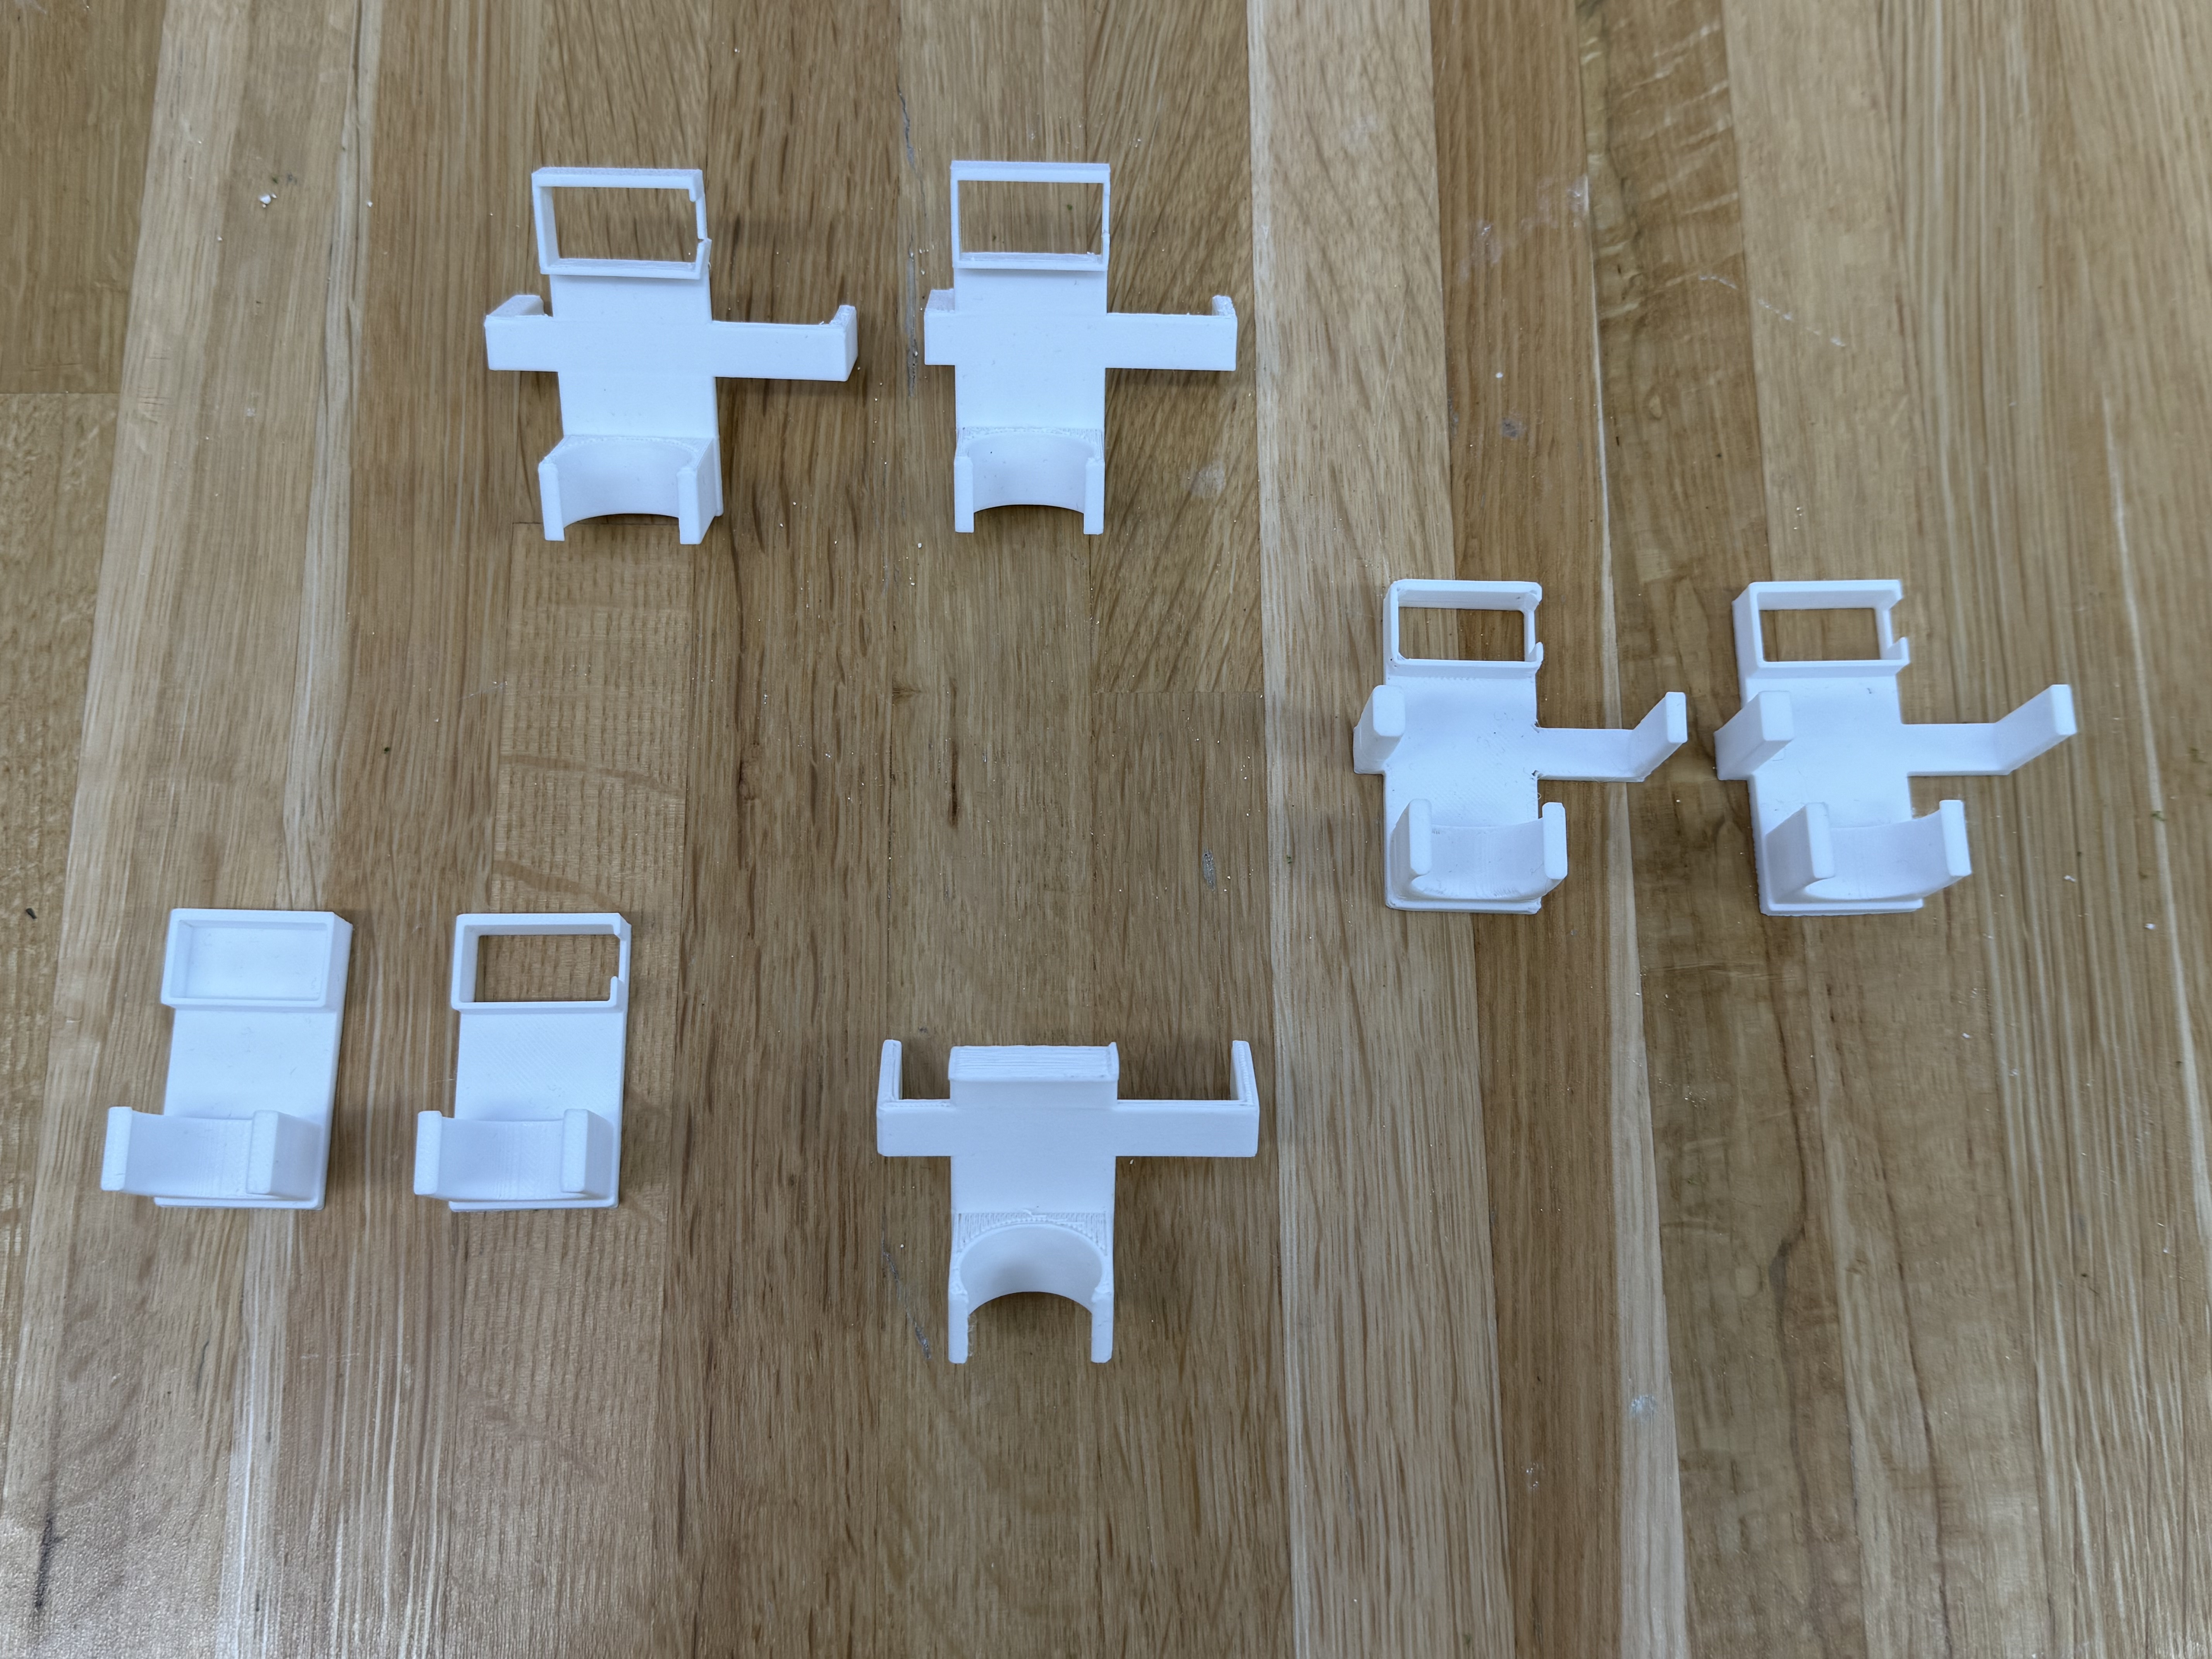
Iterations
Alignment and force mattered more than expected.
Improved control but revealed jamming.
First seeds dropping at coordinates.
Full click-to-seed interaction loop.
Demo
Challenges
Senior project overlap compressed the window.
Bracket, hopper, and gate took several CAD passes.
Mechanical and firmware issues showed up together.
Each tweak meant reprint, remount, re-test.
Physical prototyping is often less about the idea and more about tolerances, timing, alignment, and repeatability.
Outcome
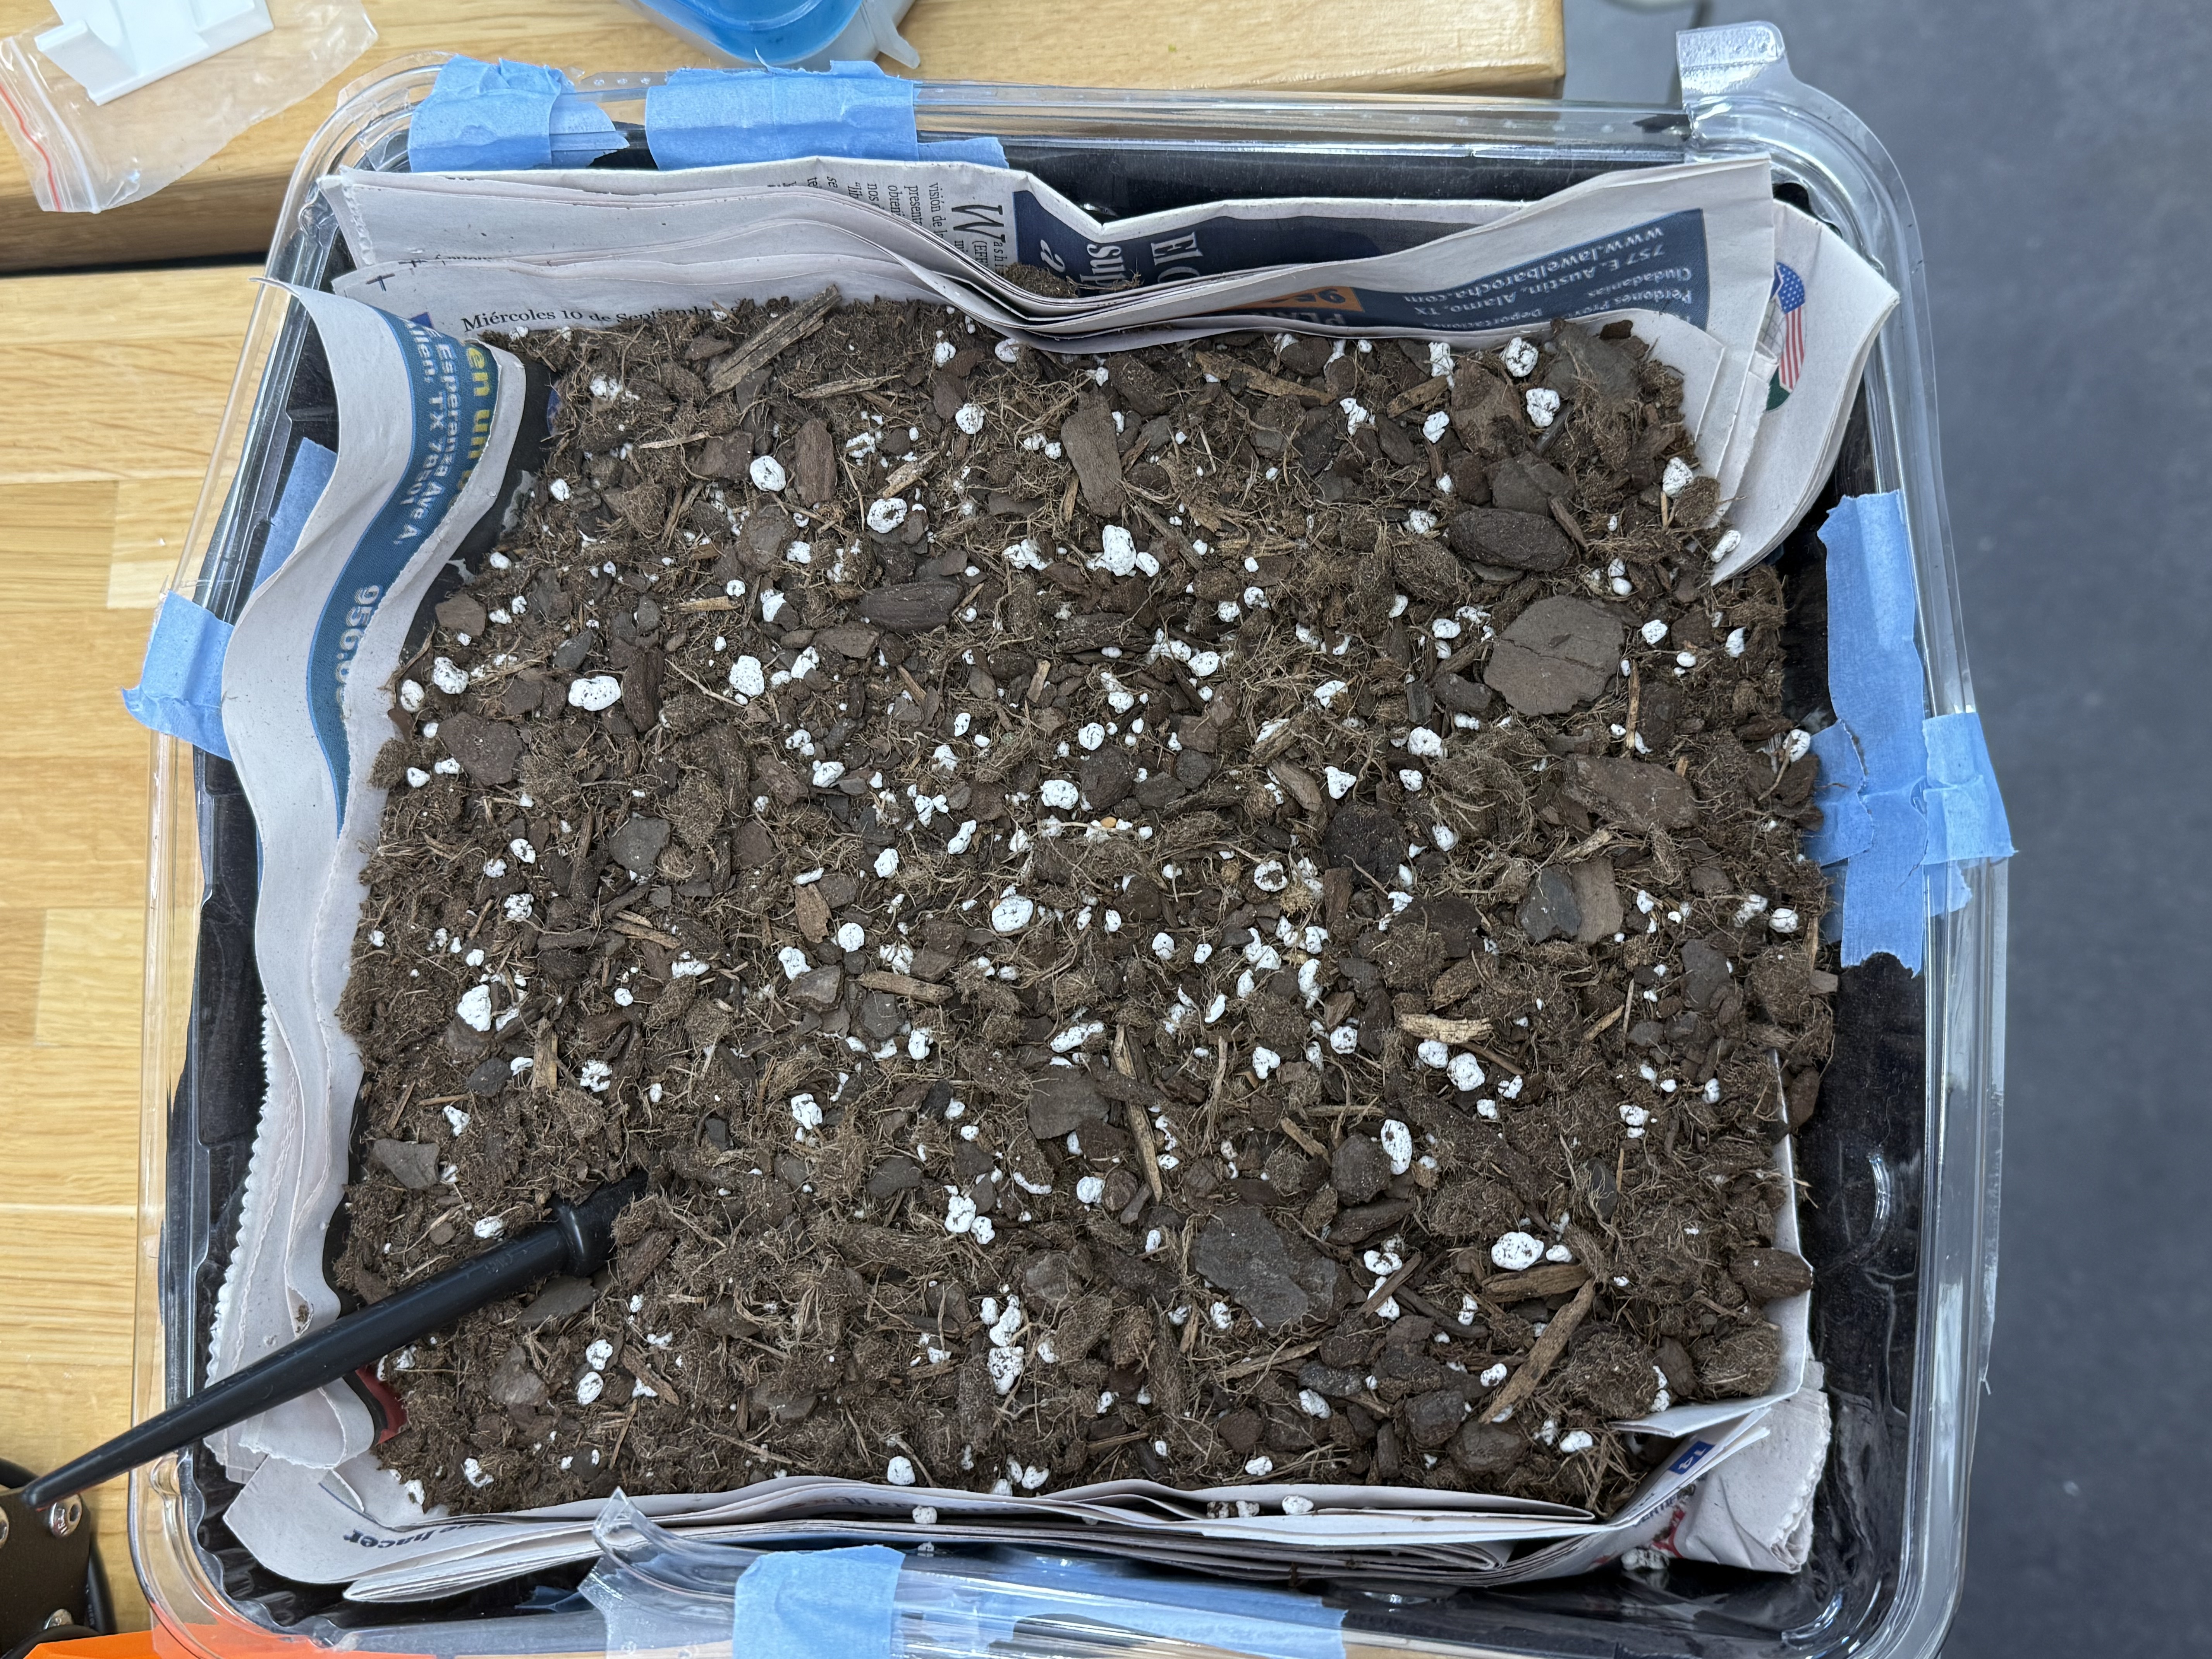
The final prototype demonstrated a working planting flow: the printer moved to set coordinates, paused, and the seed dropper released seeds through a controlled mechanism.
Reflection
This project taught me how to repurpose existing hardware into a new tool — sustainability through reuse, not just material choice.
Reusing a broken printer instead of discarding it.
Small-scale planting at a human pace.
Repeatable spacing the printer can hold to.
Adapting existing systems rather than building new.
Resilience is not building new systems, but adapting and sustaining existing ones.
Let's connect
I'm currently looking for product design, UX, creative technology, hardware prototyping, and early product roles.